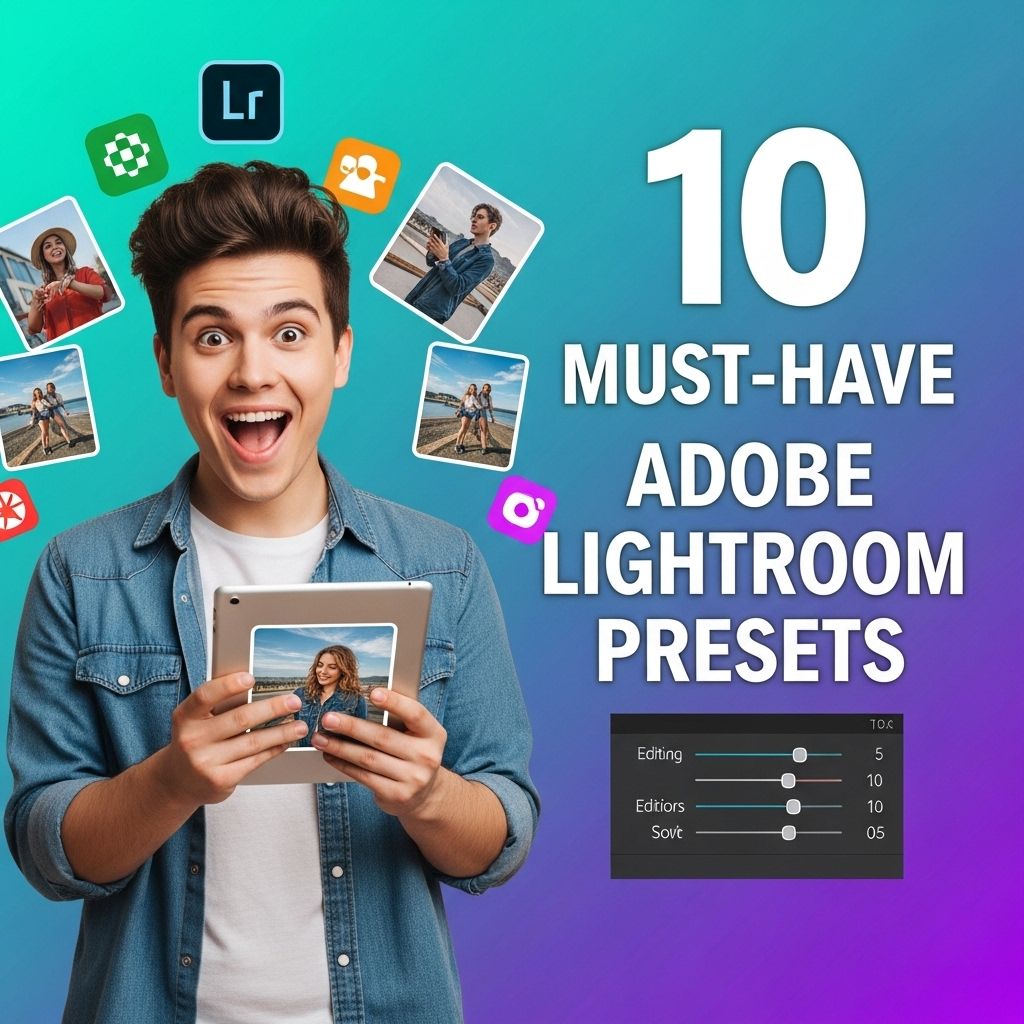
In the world of photography, post-processing plays a crucial role in enhancing images and achieving a specific aesthetic. Adobe Lightroom has become the go-to tool for photographers looking to streamline their editing workflow. One of the most powerful features of Lightroom is the ability to use presets, which allow users to apply pre-defined edits to their photos with a single click. In this article, we’ll explore ten must-have Adobe Lightroom presets that can elevate your photography and save you valuable editing time.
In the world of photography, Adobe Lightroom presets can transform your images with just a few clicks, enhancing their appeal and saving you time. In this article, we explore 10 must-have Lightroom presets that not only simplify your editing process but also elevate your photos to new heights. For those seeking creative inspiration, browse various mug designs to see how these presets can complement your unique style.
Understanding Lightroom Presets
Before diving into the must-have presets, it’s essential to understand what Lightroom presets are and how they work. A preset is a saved collection of adjustments that can be applied to images in Lightroom. These adjustments can include changes to:
- Exposure
- Contrast
- Saturation
- White balance
- Sharpness
When you apply a preset, it instantly transforms your photo, allowing you to achieve a consistent look across your entire portfolio. This is particularly useful for photographers who need to edit large batches of images quickly.
1. The Film Look Preset
This preset mimics the warm tones and grainy texture of classic film photography. By applying the Film Look preset, you can give your digital photos a nostalgic feel that resonates with viewers. Key features of this preset include:
- Soft contrast
- Warm color tones
- Subtle grain effect
How to Use
Ideal for portraits and landscapes, this preset is perfect for those looking to achieve a vintage aesthetic. Simply apply the preset and make minor adjustments to suit the specific image.
2. Black and White Mastery
Not all photos need color to tell a story. The Black and White Mastery preset is designed for those who want to emphasize shapes, textures, and contrasts in their images. Its features include:
- Dynamic contrast adjustments
- Optimized tonal range
- Sharp details
Ideal Uses
This preset is particularly effective for street photography, architecture, and any scene where mood and atmosphere take precedence over color.
3. HDR Effect Preset
High Dynamic Range (HDR) photography captures a broader spectrum of light than traditional techniques. The HDR Effect preset helps to recreate this effect in your photos, making them pop. It features:
- Enhanced shadows and highlights
- Vibrant colors
- Increased clarity
Best Applications
Use this preset for landscapes, cityscapes, and any scene where you want to highlight details in both bright and dark areas.
4. The Bright & Airy Preset
For those who love a light, fresh aesthetic, the Bright & Airy preset is a must-have. It infuses photos with brightness and softens harsh features. Key features include:
- High exposure levels
- Reduced contrast
- Pastel color palette
Perfect For
This preset is great for weddings, family portraits, and lifestyle photography where an ethereal quality is desired.
5. Urban Vibes Preset
The Urban Vibes preset is perfect for street photographers looking to capture the essence of city life. It enhances colors typically found in urban settings and emphasizes shadows to create depth. Its main features are:
- Punchy colors
- High contrast
- Enhanced details
When to Use
This is ideal for street portraiture, urban landscapes, and gritty photography that seeks to highlight cultural narratives.
6. Vintage Film Look Preset
This preset takes the classic Film Look a step further by incorporating faded colors and a nostalgic grain effect. It’s perfect for those looking to evoke memories through their images. Features include:
- Faded color palette
- Soft grain
- Warm tones
Best For
Use this preset for travel photos, personal projects, and any image where you want to create a sense of nostalgia.
7. Sunset Magic Preset
The Sunset Magic preset captures the warm, vibrant tones of sunsets, enhancing colors that might otherwise be lost. It includes:
- Rich orange and pink hues
- Soft contrast adjustments
- Enhanced warmth
Ideal Scenarios
This preset is best used for sunset and sunrise photography, landscapes, and outdoor adventures.
8. The Nature Lover Preset
For landscape photographers, the Nature Lover preset is a game-changer. This preset enhances greens and blues, making foliage and water come to life. Features include:
- Saturated greens
- Vibrant blues
- Enhanced sharpness
Recommended Uses
This is particularly effective for nature photography, wildlife shots, and any scene focusing on the great outdoors.
9. Clean and Classic Preset
The Clean and Classic preset is all about simplicity and elegance. It reduces distractions in the image, allowing the subject to shine. Its features are:
- Natural skin tones
- Subtle contrast
- Bright highlights
Perfect Applications
This is a versatile preset ideal for portrait photography, product photography, and any work where clarity is essential.
10. The Moody Noir Preset
For a dramatic effect, the Moody Noir preset introduces deep shadows and rich, dark tones. It’s perfect for conveying strong emotions through imagery. Features include:
- Deep blacks
- Low exposure
- Mysterious atmosphere
Best Applications
Use this preset for artistic portraits, cinematic shots, and scenes that require a moody tonality.
How to Install Lightroom Presets
Installing Lightroom presets can seem daunting, but it’s straightforward. Follow these steps:
- Download the preset files.
- Open Lightroom and go to the Develop module.
- On the left side panel, find the Presets section.
- Right-click or control-click on a folder and select “Import”.
- Choose the preset files and click “Import”.
Conclusion
With the right presets, Adobe Lightroom can transform your editing workflow and elevate the quality of your photos. The ten presets outlined in this article cater to diverse styles and preferences, ensuring that every photographer can find something to enhance their unique vision. Remember, while presets are a fantastic starting point, don’t hesitate to tweak settings to suit your individual style and the specific nuances of each image.
FAQ
What are Adobe Lightroom presets?
Adobe Lightroom presets are pre-defined adjustments that can be applied to photos to achieve a specific style or look quickly and consistently.
How do I install presets in Adobe Lightroom?
To install presets in Adobe Lightroom, simply open the software, navigate to the ‘Develop’ module, click on the ‘+’ icon in the Presets panel, and select ‘Import’ to upload your preset files.
Can I create my own Lightroom presets?
Yes, you can create your own Lightroom presets by adjusting the settings for a photo and then saving those settings as a preset for future use.
What are some popular Lightroom presets for landscape photography?
Some popular Lightroom presets for landscape photography include ‘Golden Hour’, ‘Moody Landscape’, and ‘Vibrant Nature’, which enhance colors and contrast.
Are there free Lightroom presets available?
Yes, there are many free Lightroom presets available online, but be sure to download from reputable sources to ensure quality and safety.
How can I use Lightroom presets effectively?
To use Lightroom presets effectively, start with a well-exposed image, apply the preset, and then fine-tune adjustments as needed to suit your specific photo.